Create Agents
Use this guide to create your first agent in Arkios Enterprise and choose the workflow that fits your team.
At a glance: Agents are purpose-built AI assistants configured for a specific business task with instructions, permissions, and optional capabilities. For the complete concept guide, see Agents Overview.
You can now get started in two ways:
- Create a new agent when you want to build something for your workspace
- Use public agent when you want to start from a shared template or reusable agent
When you choose Create a new agent, Arkios gives you two setup options:
- Use AI Assistant for guided creation
- Manual setup for direct field-by-field configuration
Before You Start
Make sure you have:
- Access to the
Agentssection in your workspace - Permission to create agents (member role with agent creation access)
- A clear task the agent should handle (support, data lookup, automation, etc.)
Step 1: Open the Agents Page
From the left navigation, open View All Agents. This page shows existing agents and the button to create a new one.
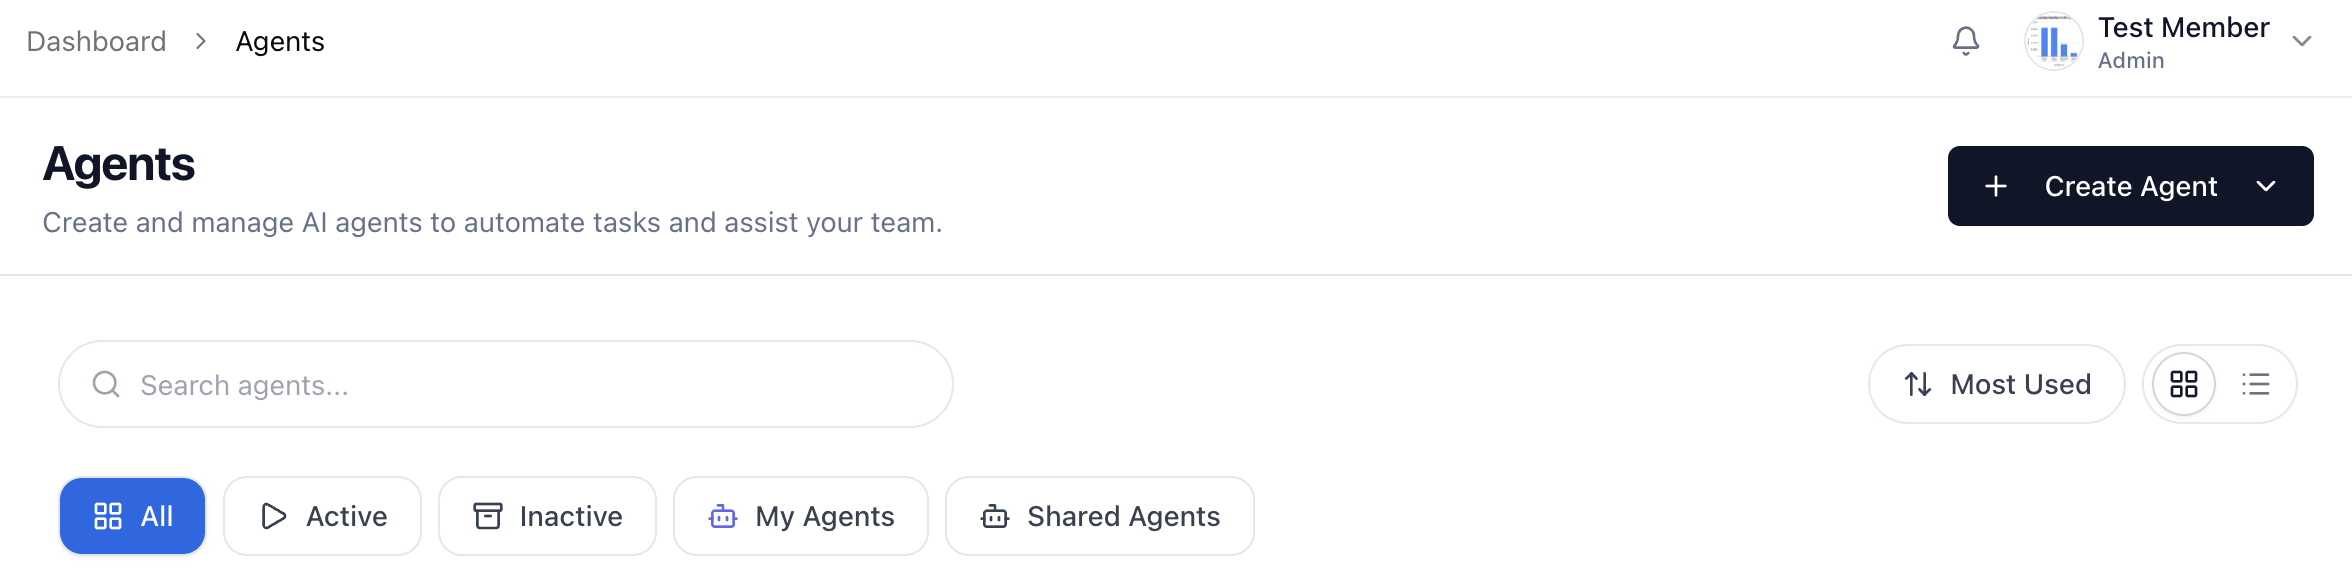
Step 2: Click Create Agent
Select Create Agent in the top-right corner.
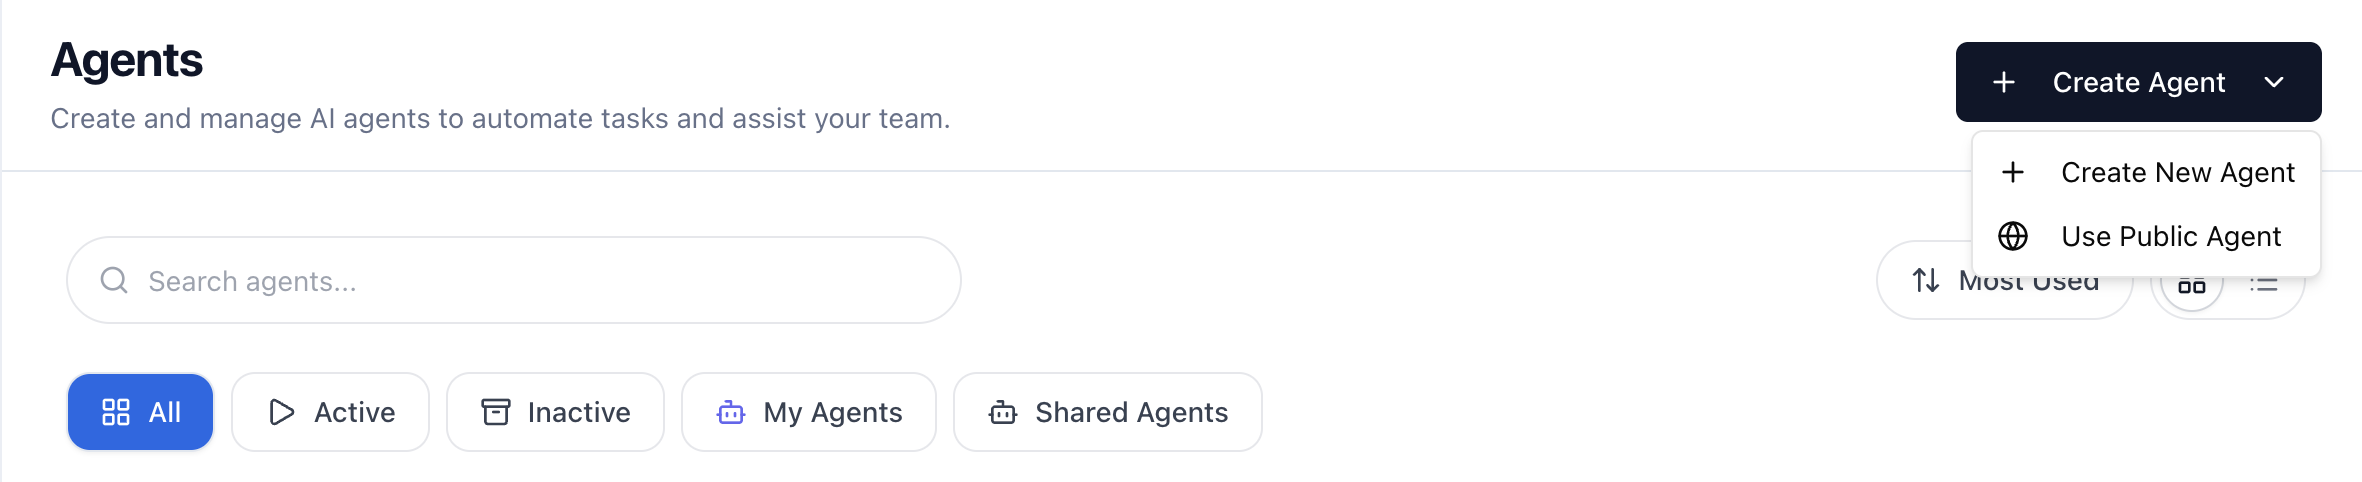
You will then see two top-level options:
- Create new agent
- Use public agent
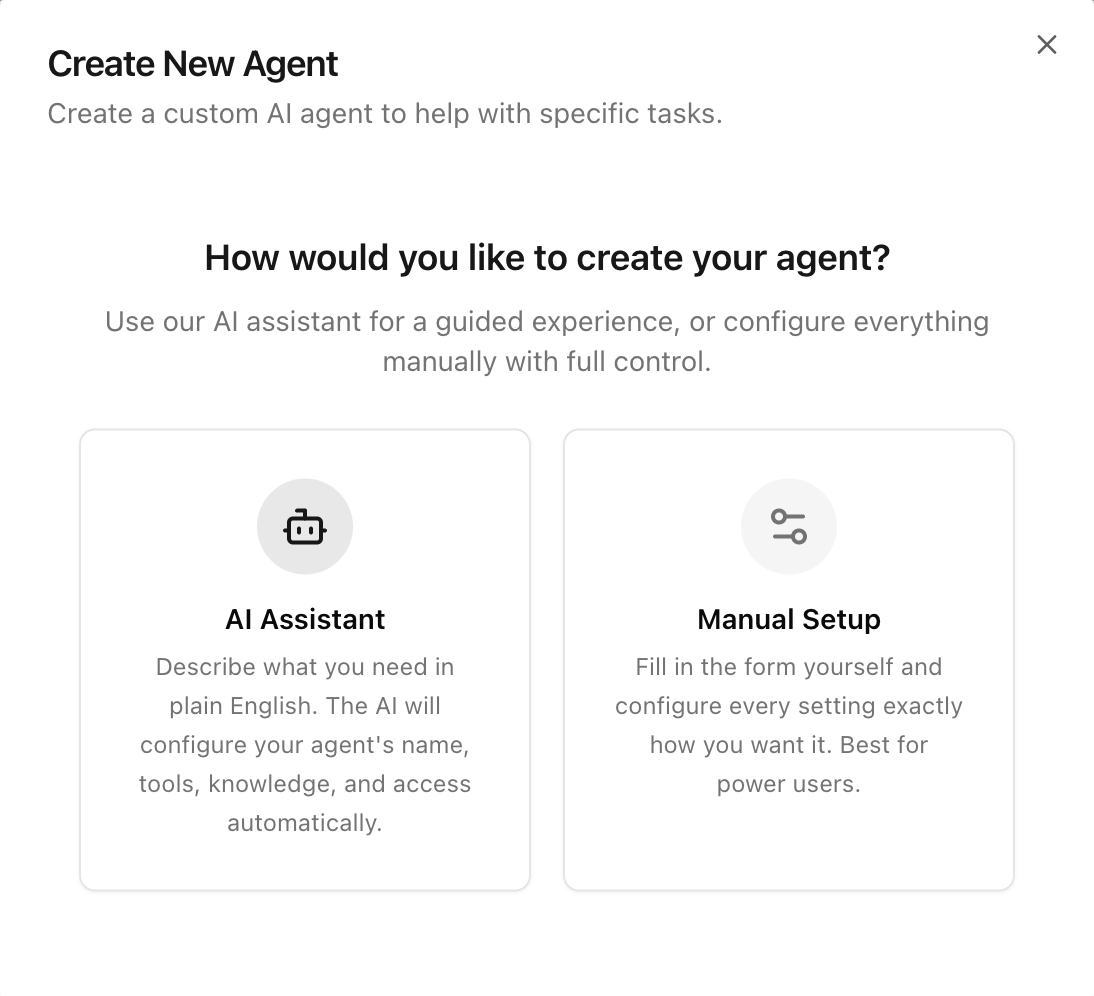
If you choose Create new agent, you will have the option to choose one of these setup paths:
- AI Assistant to open AI Agent Builder
- Manual setup to open the standard creation form
Choose the option that best matches how much guidance or reuse you want.
Option 1: Create with AI Agent Builder
Use Create new agent followed by AI Assistant if you want Arkios to help configure the agent from a short description.

How it works
- Describe what the agent should do.
- The builder asks only for the missing details, such as visibility, tools, knowledge sources, and access rules.
- For selection-based questions, Arkios shows structured UI choices instead of requiring free-form replies.
- Review the proposed setup.
- Confirm the final configuration and let Arkios create the agent.
What the builder can help with
- Naming and describing the agent
- Choosing a model and drafting the system prompt
- Adding platform tools or external operations
- Attaching knowledge sources
- Setting visibility and tool-level access rules
Best use cases for AI creation
- You know the business outcome but do not want to configure every field manually
- You want help selecting tools or knowledge sources
- You are creating an internal assistant quickly and want a guided workflow
Option 2: Create Manually
Use Create new agent followed by Manual setup when you want direct control over the agent settings from the start.
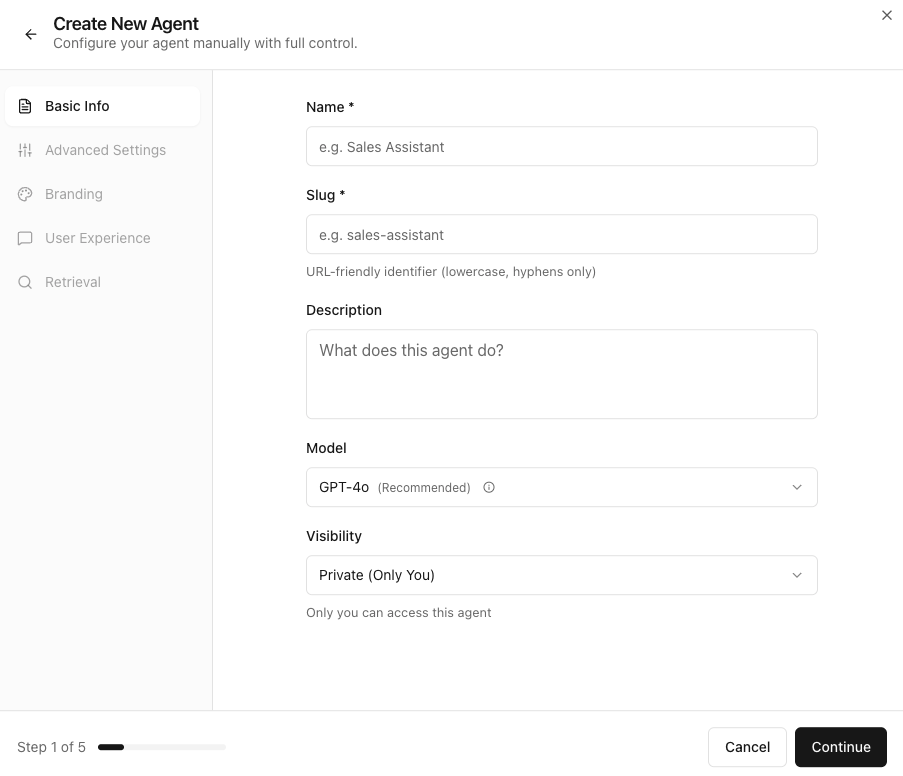
Step 3: Complete the Basic Tab
In the Basic Info tab, fill out the required fields:
- Name: Human-readable name shown in the workspace
- Slug: URL-friendly unique identifier (lowercase and hyphens only)
- Description: What the agent does and when to use it
- Model: Base model for responses
- Visibility: Who in the organization can access this agent
Tips for Basic Setup
- Keep the name short and specific (example:
Invoice Assistant) - Use a stable slug because integrations often reference it
- Write a description that states scope and limits
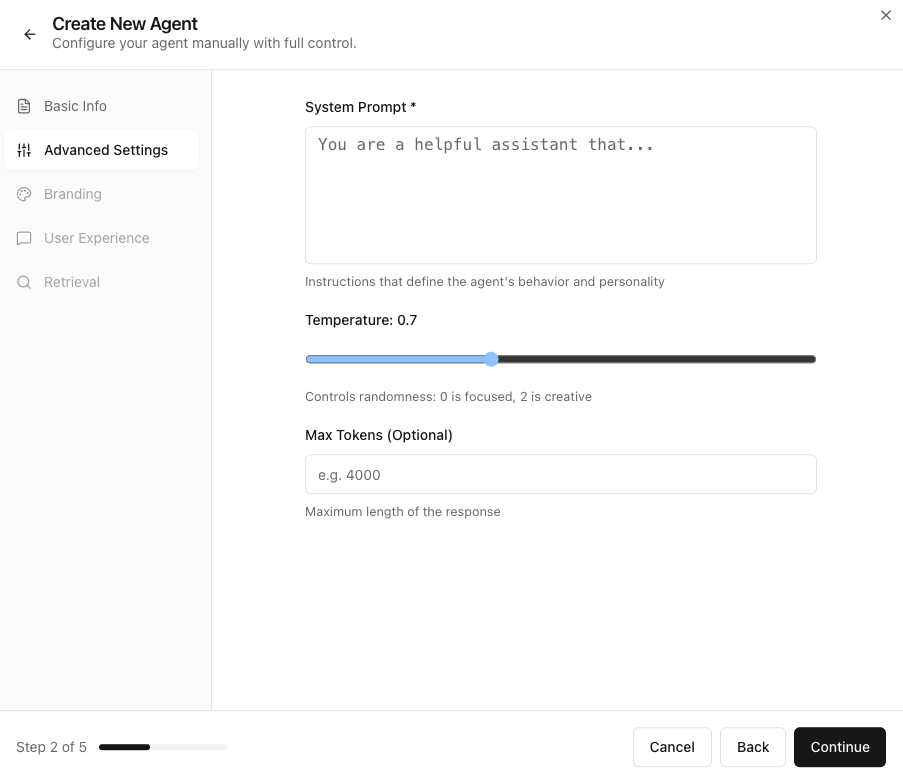
Step 4: Configure the Advanced Tab
Open Advanced Settings to define behavior and response style.
- System Prompt: Core instructions that control the agent's behavior
- Temperature: Controls randomness (
0is more focused,2is more creative) - Max Tokens (Optional): Upper bound for response length
Prompt Writing Best Practices
Use prompts that are explicit and testable. A good structure is:
- Role and objective
- Allowed tools or data sources
- Required output format
- Constraints and refusal policy
Example:
You are a support triage assistant for Arkios Enterprise.
Only answer using product documentation and connected tools.
Return a concise response with: summary, next actions, and confidence.
If information is missing, ask one clarifying question.
Step 5: Create the Agent
After reviewing settings, click Create Agent.
Option 3: Use Public Agents
Use Use public agent when you want to start from an agent that has already been shared for reuse.
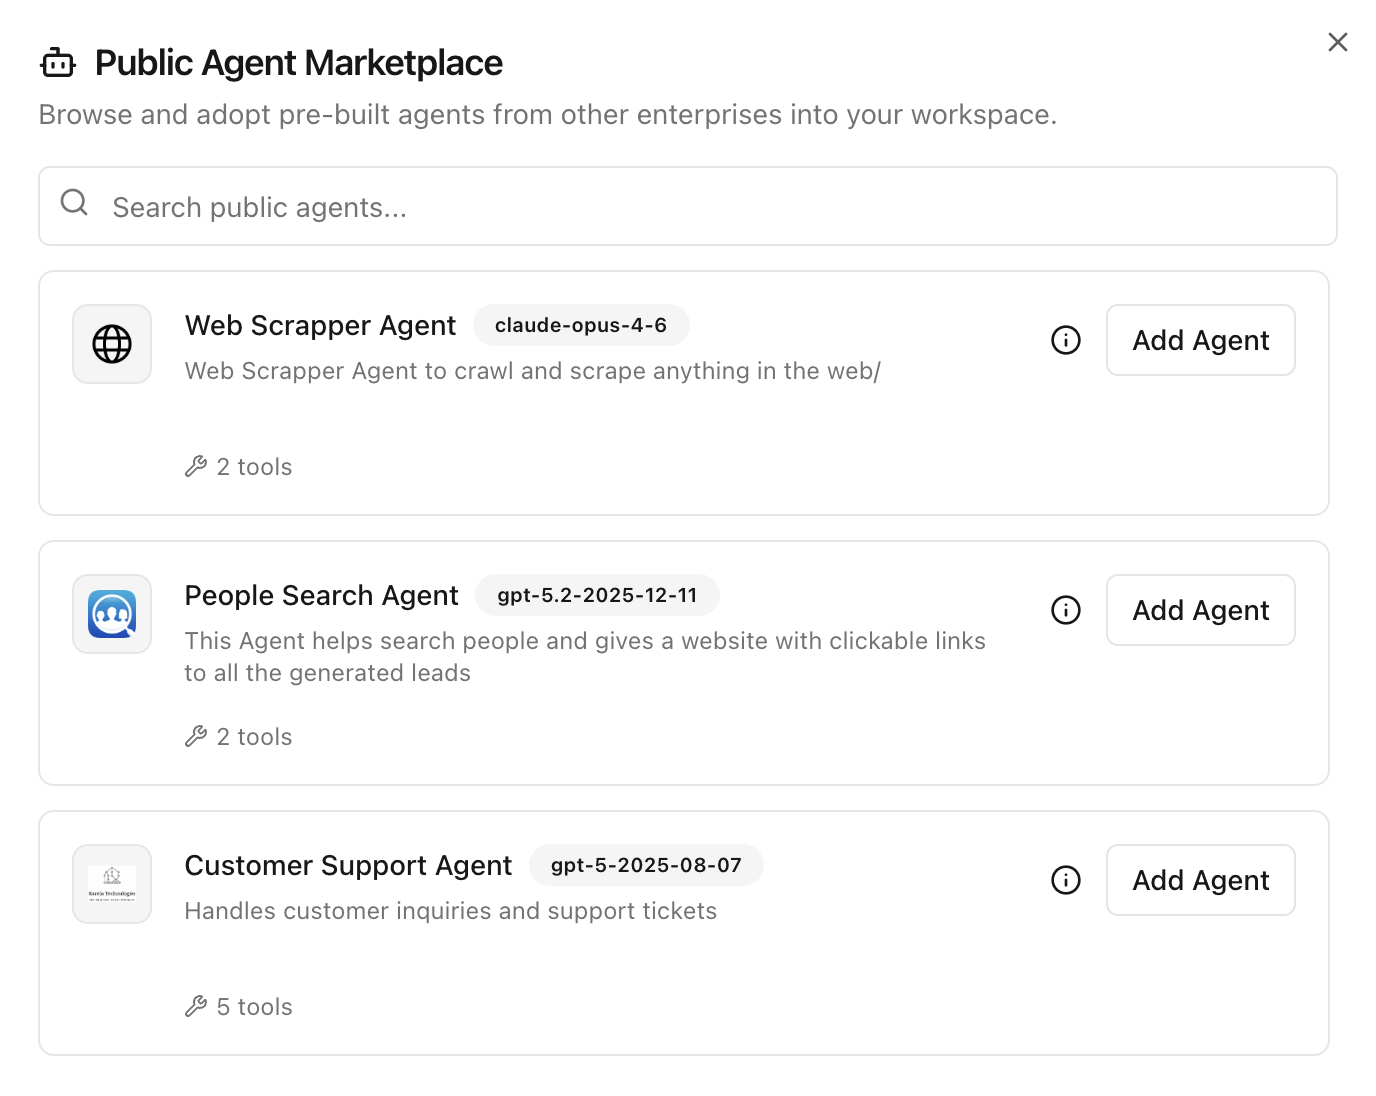
Simply click Add Agent to use public agents.
What public agents are for
Public agents help you move faster when you do not want to start from a blank configuration. They are useful for:
- Common support or operations workflows
- Internal team templates reused across workspaces
- Starting from a proven setup and then tailoring it to your needs
Typical public-agent workflow
- Open the public agents experience from the create flow.
- Browse or search for an agent that matches your use case.
- Review its description, capabilities, and intended audience.
- Use the public agent in your workspace.
- Adjust settings such as name, visibility, tools, branding, and knowledge after import if needed.
When to choose public agents instead of starting from scratch
- You already found a close match for your workflow
- You want a faster starting point than manual setup
- Your team wants consistency across similar agents
Once created, continue with these next tabs as needed:
- Branding: Name, avatar, and presentation details
- User Experience: Conversation behavior and interaction options
- Retrieval: Knowledge sources, indexing, and grounding settings
You may also continue with:
- Tools & Connectors to add actions and integrations
- Knowledge Sources to attach collections or files for retrieval
Validate Before Production
Before sharing broadly, run a quick validation:
- Test 5 to 10 realistic prompts
- Verify behavior at low and high temperature values
- Confirm the agent stays within scope
- Check visibility and access permissions
- If created with AI, verify the selected tools, knowledge sources, and access rules are correct
- If based on a public agent, review inherited instructions and capabilities before sharing widely
Next Step
After creation, continue to Tools & Connectors to give the agent access to external systems and actions.
Last updated: April 12, 2026